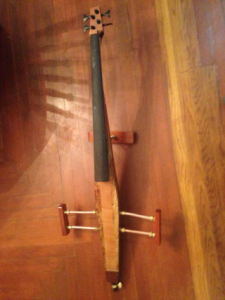
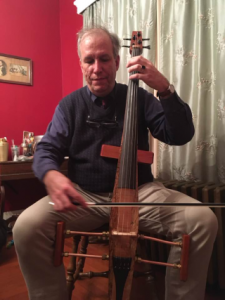
I used to play cello when I was in my early teens. For the past several years I’ve wanted to start playing cello again. However, the problem is that I currently don’t have proper storage space for an acoustic cello. Besides taking up space, an acoustic cello has to be treated tenderly. While it is not super fragile, it is not the sort of instrument that you want to just aggressively shove into a closet. I realized that a solid body electric cello, when put in a soft case, could be shoved in a closet without much fear of damage.
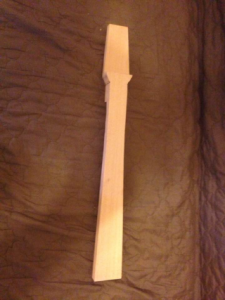
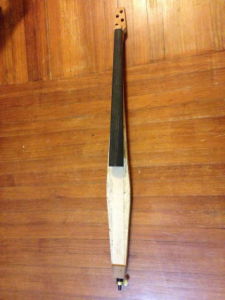
Photo 1: Rough cut of the neck / head.
The one thing I hate about acoustic cellos is the wooden tuning pegs. Anytime there is a drastic change in humidity the instrument can go greatly out of tune, and it can be very difficult to get it to stay in tune. Thus I looked for electric cellos that had electric bass style tuners. I could only find one such instrument in my price range, and the online reviews were not great.
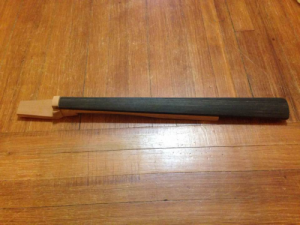
Photo 2: Neck / Head with nut and purchased fingerboard attached.
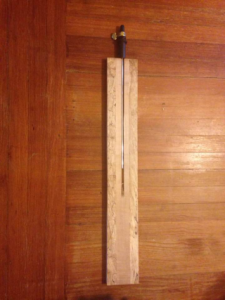
Photo 3: One of the boards for the body with a channel cut for the endpin.
Thus, with Professor Gernes serving as an advisor, I decided to build an electric cello. I found a design online that seemed suitable. I made a couple of changes. I decided to make the head and neck out a single piece of wood instead of using separate pieces. I also decided to make the body a little thicker, and make it out of two pieces of wood, which allowed me to cut a channel down the center of the instrument, yielding a place to put an endpin.
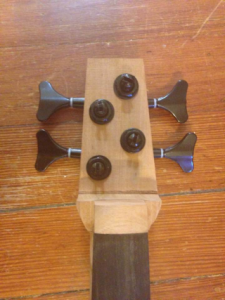
Photo 4: A test to see if the tuners fit.
Photo 5: Neck / head assembly attached to the body (via a neck plate), with the endpin inserted. Note the piece of wood added to the body near the endpin (the wood seemed a little narrow on the face where the endpin is, so I thickened it a bit).
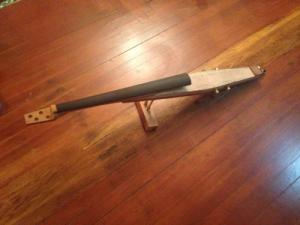
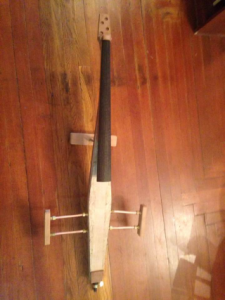
The design I used did not account for a solution for a belly rest or a place for the legs to grip the instrument like an acoustic cello. Several people online came up with their own solution to the problem, but I did not like any of the solutions I saw. Eventually I came up with the idea of bending copper pipe in the same manner of the volume antennae for a theremin, allowing for a lightweight modular way to build out from the instrument. However, I was not able to bend the pipe with a tight enough radius without putting kinks in the pipe (even though I had used a set of pipe bending tubes). I came up with the solution of using small pieces of wood that would be connected to the body using copper pipe, utilizing compression fittings attached to the side pieces and body of the cello.
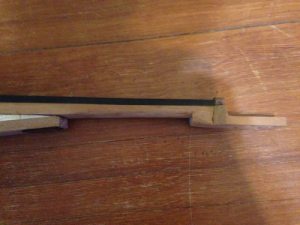
Photo 6: A profile of the neck showing the cut down from the neck to the head. Note that I later carved down the connection between the neck and head so that it is smoother.
Photo 7: Here I’ve added compression fittings to the body for the side pieces and the belly rest, with the belly rest in place using copper pipe to connect it.
I built the instrument using a small amount of finished pieces. I bought a fingerboard, an endpin assembly, a bridge, tuners, and a tailpiece (though I have been carving a tailpiece that I may use to replace the manufactured one I’ve been using at some point). The piece is finished using five coats of tru-oil. One mistake I’ve made in building the instrument is that the strings a bit high off of the fingerboard near the nut. This is easily fixable though by simply filing down the grooves for the strings in the nut. Initially, I made the mistake of buying cheap tuners. This made it so I could not bring the A string up to pitch. Since these photos I have replaced the tuner on the A string allowing me to bring it up to pitch.
Photo 8: Side pieces and belly rest are added. Note that the side pieces and belly rest can be easily removed for compact storage.
Photo 9: Here is the instrument after adding five coats of Tru-Oil, but before adding the strings, bridge, and tailpiece.
Electrifying the instrument is easy. I attach a clip on microphone made by Korg to the bridge, and I run that into a pre-amp. The output from the pre-amp can either be fed into a guitar pedal, or straight into an amplifier. The instrument actually sounds pretty darned good, but I won’t post an audio file yet, as I’ve barely begun to practice.
Photo 10: Here is a photo of my first test of the instrument. Note that the clip on microphone is not attached, and that the side pieces may need to be shortened slightly.

